You Really Do Need to Know a Little Nextflow!

Back when I was doing upstream analysis, I usually just wrote my own shell scripts — the sample sizes were small enough. But recently, I ran into a classic problem: a corrupted FASTQ file caused the whole script to fail, with no way to resume from where it left off. I asked the core facility staff at my university about it, and they gave me a crash course on workflow management systems (workflows/pipelines). I quickly realized that I had been reinventing the wheel for a long time...
Starting with a Cooking Analogy
Imagine you're preparing a big New Year's Eve dinner. You need to:
- Buy groceries (download data)
- Wash and chop vegetables (quality control)
- Cook different dishes simultaneously (alignment, quantification, differential analysis)
- Plate and serve (result visualization)
If you do everything sequentially on your own, it's painfully slow. But what if you could:
- Parallelize: run the rice cooker while washing vegetables
- Resume from a checkpoint: if one dish fails, the others aren't affected
- Allocate resources smartly: high heat for stir-frying, low heat for slow-cooking soup
- Ensure reproducibility: write down the recipe so anyone can replicate it next time
That's exactly the core philosophy of a workflow management system.
In the bioinformatics world, workflow tools are as numerous as programming languages: Snakemake, WDL, CWL, Galaxy, and more. Among them, Nextflow stands out for its flexibility, native container support, and ability to run on local machines, HPC clusters, and cloud platforms — oh, and the interface looks pretty good too (lol). That's why we'll use it as our example.
Most importantly, Nextflow has a very active community, including nf-core — which we'll cover today. nf-core hosts dozens of validated, production-ready pipelines that you can use straight out of the box.
Core Concepts
Let's start with the key building blocks of Nextflow.
Installation
Refer to the official documentation for full installation instructions. Here we install via conda:
conda install -c bioconda nextflow
Params: Flexible Configuration
params defines global parameters for the workflow. For example, defining a params.input parameter lets you pass --input on the command line to customize the input directory at runtime.
// This is a comment — use double slashes
// === Define default parameters in the script ===
params.input = "data/*.fastq.gz"

// === Use parameters in the script ===
println "Processing files: ${params.input}"

// Use parameters inside a process
process HEAD {
    script:
    """
    zcat ${params.input} | head -5
    """
}
Process: The Basic Unit of a Workflow
A process is equivalent to a function in a script — it defines one specific step of the pipeline.
process FASTQC {

    input:
    path reads        // input path

    output:
    path "*.html"     // output path

    script:
    """
    fastqc ${reads}   // the actual command to run
    """
}
Channel: The Data Highway
Channels pass data between processes.
Channel
    // point to raw data location
    .fromPath('data/*.fastq.gz')
    // assign to a named channel
    .set { fastq_files }
    // data flows through the channel and is automatically dispatched to processes
Workflow: The Pipeline Conductor
The main workflow block orchestrates all the steps, and is typically stored in a .nf file.
workflow {
    // orchestrate each process
    FASTQC(fastq_files)
    TRIMMING(FASTQC.out)
    ALIGNMENT(TRIMMING.out)
}
Minimal Working Example
Let's create a very simple pipeline: counting the number of lines in FASTQ files.
Save the following as simple_count.nf:
#!/usr/bin/env nextflow

// Define parameters
params.input_dir = "data"

// Define the process
process count_lines {
    input:
    path fastq_file

    output:
    stdout

    script:
    """
    # Count lines
    lines=\$(cat ${fastq_file} | wc -l)

    # Print to stdout
    echo "${fastq_file}: \${lines} lines"
    """
}

// Define the workflow
workflow {
    // Create the input file channel
    fastq_ch = Channel.fromPath("${params.input_dir}/*.fastq")

    // Run the process and display results
    count_lines(fastq_ch) | view
}
Now run it:
nextflow run simple_count.nf
N E X T F L O W  ~  version 25.04.6
Launching `simple_count.nf` [tender_noether] DSL2 - revision: 57798a27f6
executor >  local (2)
[f5/3263ca] count_lines (2) | 2 of 2 ✔
sample1.fastq: 8 lines
sample2.fastq: 4 lines
nf-core
As mentioned above, nf-core hosts dozens of standardized, production-grade, ready-to-use pipelines. Among them, nf-core/rnaseq is probably the most widely used RNA-seq analysis pipeline. Each pipeline comes with a workflow diagram showing the exact steps involved. The rnaseq pipeline diagram is shown below.
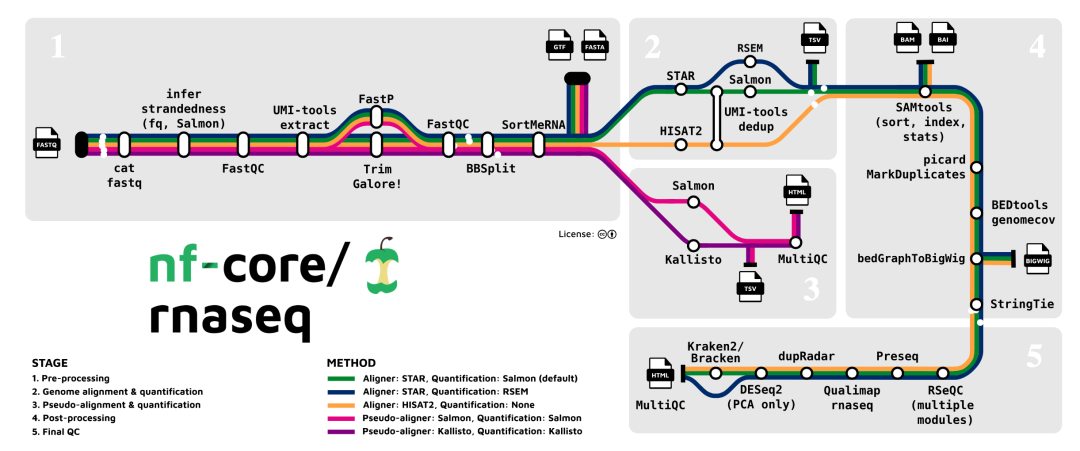
nf-core/rnaseq workflow diagram — source: nf-core
nf-core provides an integrated Python package. Once installed, you can run any available pipeline directly — no need to manually manage configuration files or download workflow scripts.
Installation
pip install nf-core

# List available pipelines
nf-core pipelines list
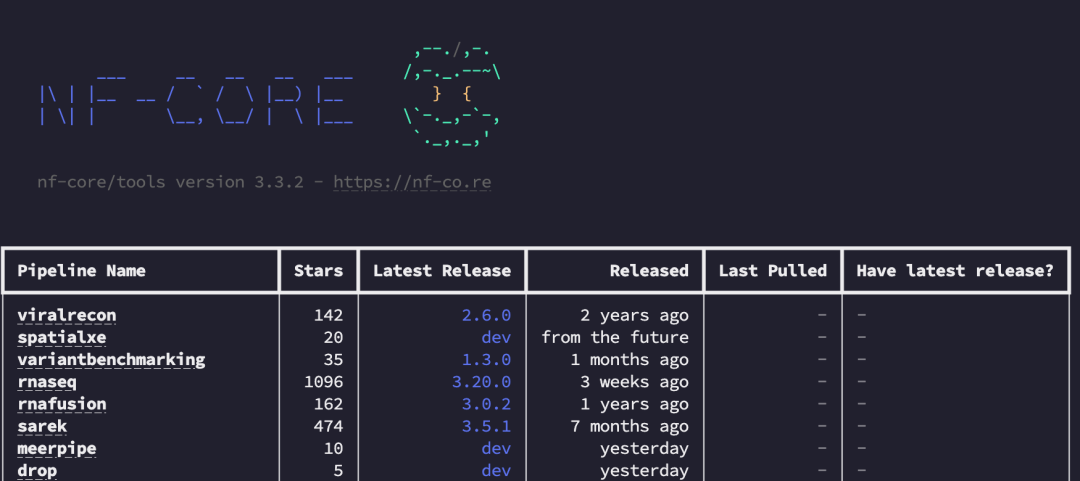
Interested readers are encouraged to explore the full pipeline documentation — we'll keep this article focused on the essentials.
Pulling the Pipeline
Pull the RNA-seq pipeline from nf-core:
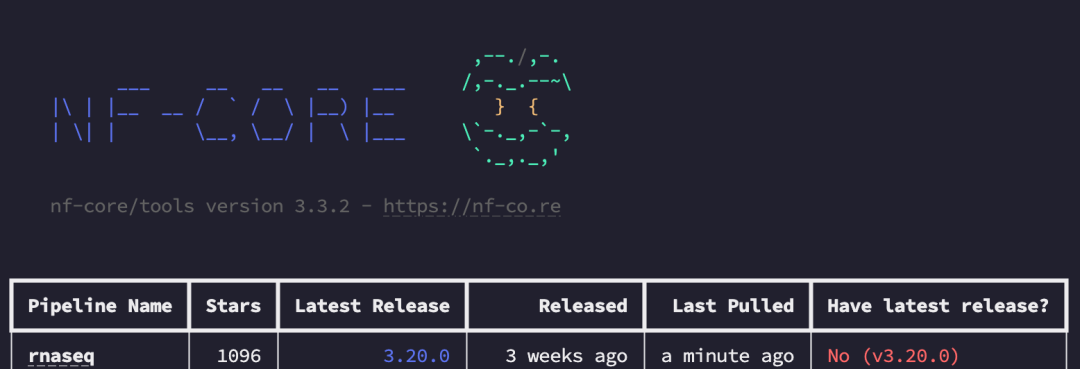
nextflow pull nf-core/rnaseq

# Verify it was pulled successfully
nf-core pipelines list rnaseq -s pulled
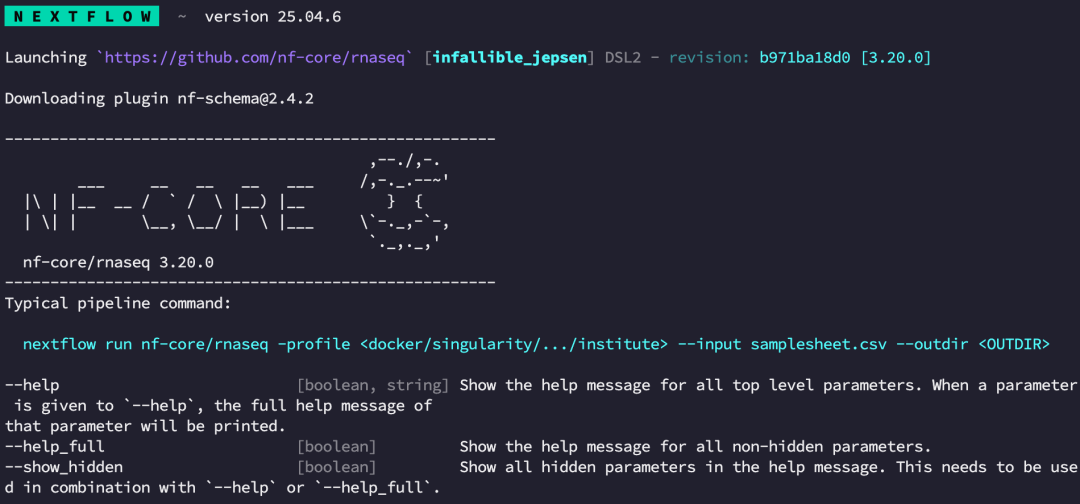
Next, view the pipeline's parameters and help documentation:
nextflow run nf-core/rnaseq -r 3.20.0 --help
Testing the Pipeline
If you just want to do a quick test run:
nextflow run nf-core/rnaseq \
  -r 3.20.0 \
  -profile test,singularity \
  --outdir results
This will automatically fetch test data and container images from the internet and run the pipeline end-to-end.
Running the Pipeline on Your Own Data
For a real run, you'll need to create a sample sheet (samplesheet.csv), for example:
sample,fastq_1,fastq_2,strandedness
CONTROL_1,ctrl_1_R1.fastq.gz,ctrl_1_R2.fastq.gz,auto
CONTROL_2,ctrl_2_R1.fastq.gz,ctrl_2_R2.fastq.gz,auto
TREATED_1,treat_1_R1.fastq.gz,treat_1_R2.fastq.gz,auto
TREATED_2,treat_2_R1.fastq.gz,treat_2_R2.fastq.gz,auto
If a sample has multiple FASTQ files (e.g., from multiple lanes), simply list them as separate rows with the same sample name — nf-core will merge them automatically.
If you're not planning to use Docker or Singularity containers, make sure to install all required tools beforehand (see the GitHub page for the full dependency list).
The general syntax for running the pipeline:
nextflow run nf-core/rnaseq \
    --input <SAMPLESHEET> \
    --outdir <OUTDIR> \
    --gtf <GTF> \
    --fasta <GENOME FASTA> \
    -profile <docker/singularity/.../institute>
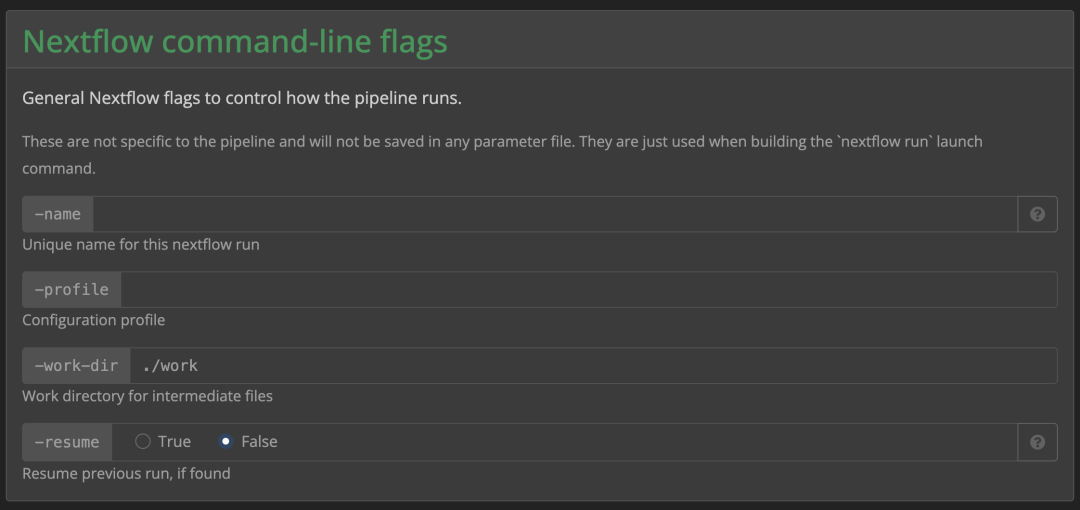
You can also launch an interactive parameter configuration with:
nf-core pipelines launch -r 3.20.0 rnaseq
Choosing Web-based opens a browser interface where you can fill in all parameters interactively:
Choosing Command Line generates a full command with all parameters filled in:
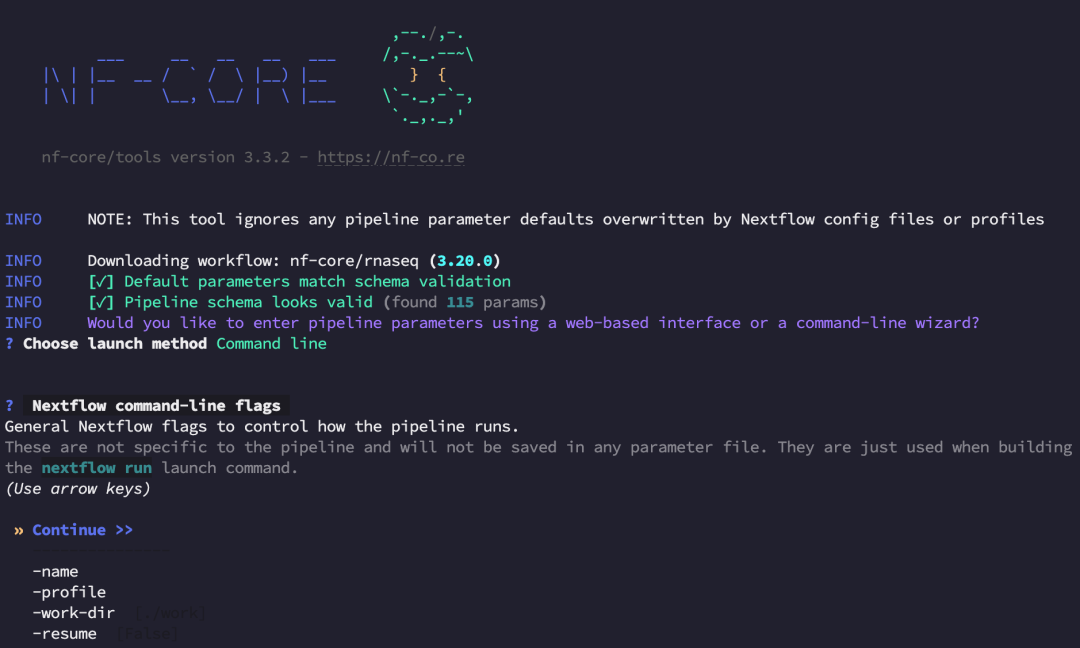
Note: By default, the workflow assumes all required tools are already installed in your environment. If you're not sure, add
-profile docker(orsingularity) or-profile condato have the workflow automatically pull container images or set up a conda environment for you.
Running Offline
The methods above fetch the latest configuration and workflow files at runtime and require an internet connection. For a fully offline deployment, you can download the entire pipeline in advance:
nf-core pipelines download nf-core/rnaseq -r 3.20.0 -s singularity
The -s singularity flag ensures that all Singularity container images are also downloaded (requires Singularity to be installed on the server).
Understanding the Output
Unless you specify a different output directory, results will be stored in a results/ folder in the current directory. Here's what you'll find inside:
results/
├── multiqc/
│   └── star_salmon/
│       └── multiqc_report.html          # Aggregated QC report (start here!)
│
├── salmon/  OR  star_salmon/            # Depends on the --aligner parameter
│   ├── salmon.merged.gene_counts.tsv    # Gene expression count matrix (primary analysis file)
│   ├── salmon.merged.gene_tpm.tsv       # TPM-normalized expression values
│   ├── salmon.merged.transcript_*.tsv   # Transcript-level quantification
│   └── deseq2_qc/
│       ├── deseq2.dds.RData             # DESeq2 object (for use in R)
│       ├── deseq2.pca.vals.txt          # PCA coordinates
│       └── deseq2.plots.pdf             # Sample clustering plots (PCA, heatmap)
│
├── star_salmon/  (STAR alignment only)
│   ├── *.markdup.sorted.bam             # Final BAM files (for IGV visualization)
│   ├── *.markdup.sorted.bam.bai         # BAM indices
│   └── bigwig/
│       └── *.{forward,reverse}.bigWig   # Coverage tracks (for genome browsers)
│
├── fastqc/
│   ├── raw/                             # QC on raw reads
│   └── trim/                            # QC after adapter trimming
│
├── (QC sub-tools)/
│   ├── qualimap/                        # RNA-seq-specific QC metrics
│   ├── dupradar/                        # PCR duplication rate analysis
│   ├── rseqc/                           # Read distribution analysis
│   └── featurecounts/                   # Biotype distribution statistics
│
└── pipeline_info/
    ├── execution_report_*.html          # Resource usage report
    ├── execution_timeline_*.html        # Execution timeline
    └── params_*.json                    # Record of parameters used
Parameter Quick Reference
| Category | Parameter | Description | Example |
|---|---|---|---|
| Required | --input |
Path to sample sheet CSV | samplesheet.csv |
--outdir |
Output directory (absolute path required on cloud) | results |
|
| Reference genome | --genome |
iGenomes reference genome identifier | GRCh38, GRCm39 |
--fasta |
Custom genome FASTA file | genome.fa |
|
--gtf |
GTF annotation file | genes.gtf |
|
--star_index |
Pre-built STAR index directory | /ref/star_index |
|
--salmon_index |
Pre-built Salmon index directory | /ref/salmon_index |
|
--gencode |
Whether the GTF is in GENCODE format | true/false |
|
| Alignment | --aligner |
Aligner to use | star_salmon, star_rsem, hisat2 |
--pseudo_aligner |
Pseudo-aligner (run in addition) | salmon, kallisto |
|
--min_mapped_reads |
Minimum alignment rate threshold (%) | 5 (default) |
|
--extra_star_align_args |
Extra arguments for STAR | "--outFilterMultimapNmax 999" |
|
--extra_salmon_quant_args |
Extra arguments for Salmon | "--numBootstraps 100" |
|
| Trimming | --trimmer |
Adapter trimmer tool | trimgalore (default), fastp |
--min_trimmed_reads |
Minimum reads to retain after trimming | 10000 (default) |
|
--extra_trimgalore_args |
Extra arguments for Trim Galore | "--length 50" |
|
| QC | --skip_fastqc |
Skip FastQC | true/false |
--skip_multiqc |
Skip MultiQC | true/false |
|
--skip_dupradar |
Skip duplication rate analysis | true/false |
|
--skip_qualimap |
Skip Qualimap | true/false |
|
--skip_rseqc |
Skip RSeQC | true/false |
|
--skip_deseq2_qc |
Skip DESeq2 QC plots | true/false |
|
| Decontamination | --remove_ribo_rna |
Remove ribosomal RNA reads | true/false |
--bbsplit_fasta_list |
BBSplit filter reference sequences | contaminants.txt |
|
--skip_bbsplit |
Skip BBSplit | true (default) |
|
| UMI | --with_umi |
Enable UMI-based deduplication | true/false |
--umitools_bc_pattern |
UMI barcode pattern | "NNNNNN" |
|
--umi_dedup_tool |
UMI deduplication tool | umitools (default), umicollapse |
|
| Saving | --save_trimmed |
Save trimmed reads | true/false |
--save_align_intermeds |
Save intermediate BAM files | true/false |
|
--save_unaligned |
Save unmapped reads | true/false |
|
--save_reference |
Save generated index files | true/false |
|
| Quantification | --featurecounts_feature_type |
Feature type for counting | exon (default) |
--gtf_extra_attributes |
Additional GTF attributes to report | gene_name (default) |
|
--gtf_group_features |
GTF attribute to group features by | gene_id (default) |
References
- Carpentries Nextflow Tutorial
- nf-core/rnaseq Pipeline Documentation
Originally posted on WeChat Official Account: bioinfo_studyroom